Oh, let’s just be honest for a second—gluten-free baking can be terrifying! I remember the first time I tried making a homemade pizza base without wheat; it came out like a sad, crumbly cracker that couldn’t even hold up a single slice of pepperoni. Total disaster. But don’t you worry about that anymore, because I finally cracked the code!
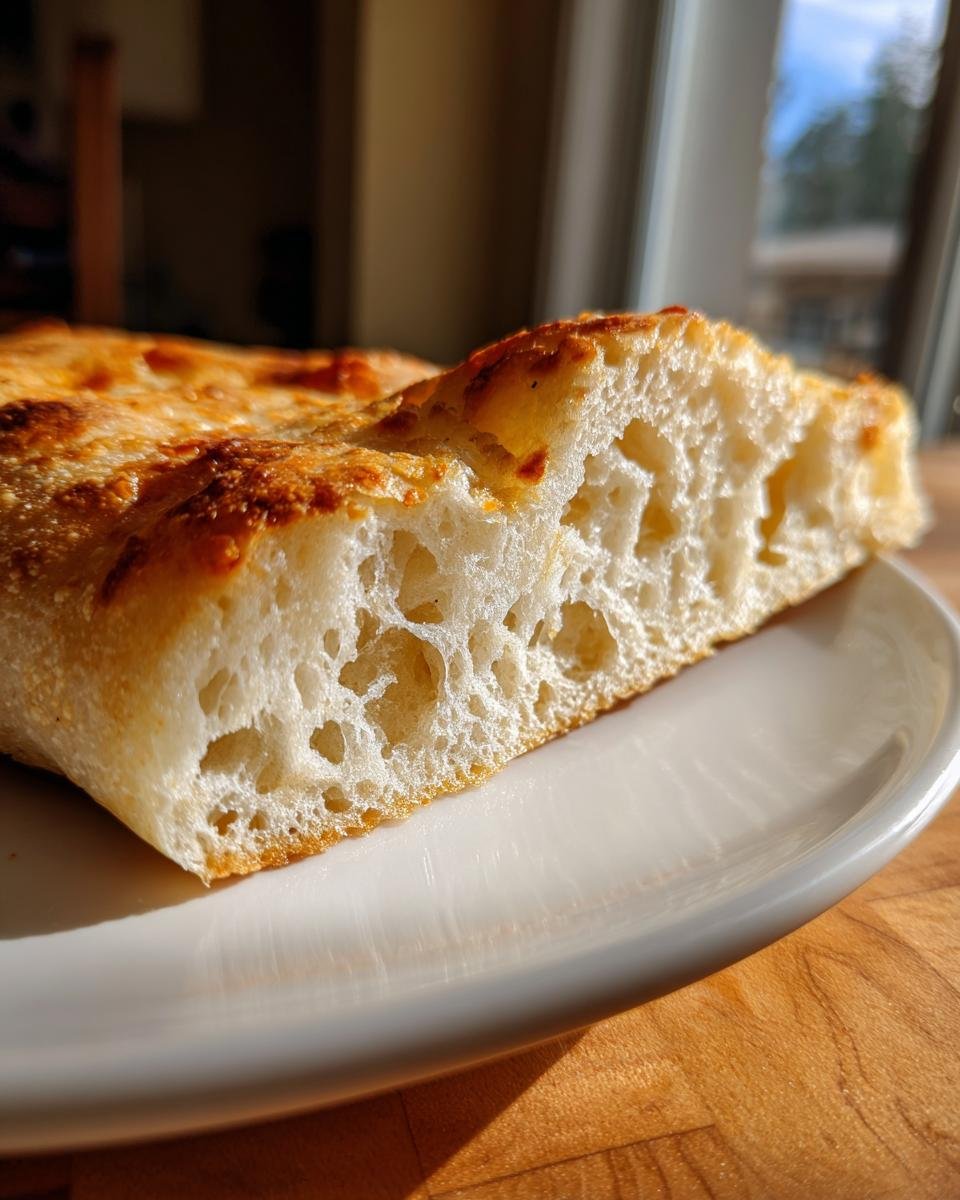
This recipe for **gluten free pizza crust** is my absolute lifeline. It’s straightforward, it’s reliable, and honestly, it tastes like the real deal. We’re talking about a dough that’s easy to spread, bakes up perfectly sturdy, and yes, it holds all the glorious cheese and sauce you can handle. Seriously, ditch those expensive store-bought sacks and let’s make pizza!
Why This Gluten Free Pizza Crust Recipe Works (Expert Tips)
Look, the reason so many gluten-free doughs fail is that they lack the elasticity that regular wheat gives you. We need substitutes to do the heavy lifting! My secret weapon here is relying heavily on the flour blend itself. The measurements in this recipe are specifically balanced to work with that high-protein gummy texture GF flours inherently have. This robust **gluten free pizza crust** doesn’t collapse because we respect those ingredients.
Also, don’t skip that little bit of sugar with the yeast, even though you aren’t making bread! That just wakes up the yeast so you get that initial puff of life before baking. It’s all science, but we make it taste like magic, trust me.
The Importance of Xanthan Gum in Your Gluten Free Pizza Crust
If you look at the ingredients list, you’ll see I called for a GF blend that *already has* xanthan gum in it. That stuff is non-negotiable for this recipe. Think of xanthan gum as the stand-in for gluten; it’s what keeps everything from exploding apart when you try to press it out. Without it, your **gluten free pizza crust** will just crumble when you try to top it—and honestly, who wants that mess?
If your blend doesn’t list it, you absolutely MUST add the teaspoon I noted, or you’re going to be very disappointed with the structure. You can check out how essential these functional binders are in other baking projects, like my thoughts on homemade cake flour substitutes, where structure is just as key.
Why We Use Warm Water for Yeast Activation
Yeast is fussy, isn’t it? It’s like a little pet that needs perfect conditions to wake up happy. We aren’t looking for boiling water—that kills it instantly! You want that sweet spot, usually between 105°F and 115°F. If the water is too cold, the yeast just sulks and does nothing. If it’s too hot, you kill your bloom. Stick to that range, and watch it get nice and bubbly; that’s how you know you’re ready for the next step.
Gathering Ingredients for Your Perfect Gluten Free Pizza Crust
Okay, gathering the supplies is where this recipe gets wonderfully simple. It’s mostly pantry staples, but the details matter, especially with gluten-free baking! For starters, you need that 1 1/2 cups of warm water. Remember what I said about the temperature? We are aiming for cozy, not hot tub hot—105°F to 115°F is the sweet spot to wake up the yeast.
Next up is the flour. Grab your 3 cups of a good quality gluten-free all-purpose blend that already has the xanthan gum mixed in, or be prepared to add it separately. That’s the backbone of this **gluten free pizza crust**!
You’ll also need a teaspoon of sugar to feed the yeast, the salt for flavor, and the all-important 2 tablespoons of lovely olive oil. It really is that short! Lay it all out, check your yeast packet, and you’re ready to mix up some amazing dough.
Step-by-Step Instructions for Making the Gluten Free Pizza Crust
Now for the fun part! This process is so quick, and you’ll have that oven preheating before you even finish mixing. We’re moving fast, but don’t rush that important first step with the yeast. If you’re looking for extreme pizza ideas after this base is done, I have some wild topping concepts saved over at my stuffed crust recipe post!
Activating the Yeast: The Foaming Test
First things first: get your warm water, the sugar, and that packet of yeast all together in a little bowl. Give it a gentle stir and then just let it sit there quietly for about five to ten minutes. You are waiting for the magic sign—it needs to look visibly foamy on top, like a creamy head on a beer. If nothing is happening, your water was either too cold or too hot, and you need to start that part over before proceeding!
Mixing and Resting the Gluten Free Pizza Crust Dough
Once you have that happy foamy yeast mixture, pour it right into your bowl of dry ingredients—the flour blend and the salt—along with your olive oil. Now, you’re going to mix it all up. I usually start with a wooden spoon because this dough is going to be sticky, much stickier than regular bread dough! Keep mixing until everything is incorporated into one messy blob. Crucially, this **gluten free pizza crust** dough won’t double in size like traditional dough. That’s normal! We just cover the bowl and let it rest in a warm spot for 30 minutes. This rest just lets the ingredients hydrate properly.
Baking Your Gluten Free Pizza Crust: The Two-Stage Bake
This is the step that separates a soggy disappointment from a perfectly crisp, structurally sound slice of pizza. Because gluten-free dough absorbs moisture differently—and it doesn’t have the gluten structure to stay firm when wet—we absolutely must do a two-stage bake. This is my non-negotiable rule for any successful **gluten free pizza crust**.
First, get your oven cranked up high to 425°F (about 220°C). While that heats up, handle your dough. Since it’s sticky, use oiled hands or parchment paper to press it out onto your prepared pan. Once it’s shaped, you need to pre-bake it plain for about 10 to 12 minutes. This gives the crust just enough time to set up and get slightly firm on the bottom before gravity and liquid toppings weigh it down!

After that initial bake, pull it out carefully. Now you can swoop in with your sauce, cheese, and whatever toppings your heart desires. Then, slide that loaded **gluten free pizza crust** back in for another 10 to 15 minutes. You’re looking for bubbly cheese and a crust edge that’s nicely golden brown. If you’re looking for topping inspiration that looks amazing, you simply must see how I dress up my veggie pizza for parties!
Tips for the Best Ever Gluten Free Pizza Crust Texture
We’ve baked the crust once, which is great, but if you want that truly professional, satisfyingly crisp bottom on your **gluten free pizza crust**, you need a couple of extra tricks up your sleeve. These aren’t in the main steps, but they are what take this pizza from “good for gluten-free” to “Wait, is this truly GF?” Trust me, these small actions make the biggest difference in texture.
Handling Sticky Dough: Oil vs. Flour
Listen, when you go to press this dough out onto the pan, the sticky factor is real. My biggest advice? Don’t try to use lots of extra flour to keep it from sticking to your hands or the counter. That flour will just bake dry and chalky! Instead, lightly oil your hands—a little drizzle of olive oil works wonders—and gently press the dough out. Alternatively, using parchment paper underneath right from the mixing stage is fantastic because you never have to touch the sticky parts much at all!
Achieving Maximum Crispness with a Pizza Stone
If you own one of those heavy pizza stones, dust it off right now! For the absolute crispiest bottom on your **gluten free pizza crust**, you need to preheat that stone right along with your oven at 425°F. When you slide your pizza in for the initial bake, putting it directly onto that screaming hot stone creates an instant blast of heat on the bottom. It seals the crust quickly, giving you that amazing crunch that is so hard to achieve at home!

Gluten Free Pizza Crust Variations and Topping Ideas
Now that you have the world’s most reliable **gluten free pizza crust** ready to go, the real fun begins: toppings! Since this base is so sturdy, you can go wild without worrying about drips or rips. If you want a flavor adventure, try making a White Pizza version; just brush the pre-baked crust with garlic-infused olive oil instead of tomato sauce.
I’m also obsessed with using pesto as my base when I’m feeling fancy. Throw on some grilled chicken, maybe some sun-dried tomatoes, and a sprinkle of fresh basil after it comes out of the second bake. We even do a fun BBQ version—check out my inspiration for barbecue bacon pizza if you need a bold idea for your next Friday night! This base takes everything beautifully.
Storage and Reheating Instructions
So, what happens if you miraculously have leftover pizza? Because this is gluten-free, storage takes just a tiny bit more care than if your crust had traditional gluten structure, but it’s really easy to manage.
If you have slices left over, the absolute best way to store them is in an airtight container in the refrigerator. They’ll stay good like this for about three or maybe even four days. I always separate the layers with a little square of parchment paper just to make sure the sauces don’t make the bottoms too soggy overnight.

Now, reheating is key! Microwaving is fast, but it almost always turns the crust chewy and soft, which defeats the purpose of our great bake. For the best result, if you only have a couple of slices, pop them right onto a baking sheet and heat them in a 350°F oven for about 8 to 10 minutes. That gentle heat brings back the crispness we worked so hard to achieve in the first place.
If you made a whole pizza and know you won’t finish it, you can actually freeze it! Cool the pizza completely first, slice it up, wrap the pieces tightly in plastic wrap followed by a layer of foil, and keep them in the freezer for up to a month. When you’re ready to eat, just pop the frozen slice straight into a 400°F oven until heated through—no need to thaw!
Frequently Asked Questions About Gluten Free Pizza Crust
I know when you first start going gluten-free, your head is swimming with questions about substitutions and results. That is totally normal! I get asked all the time about how to get this **gluten free pizza crust** just right, especially if someone is new to GF baking. Since I’ve been down this road so many times, let me clear up a few common sticking points for you!
If you’re ever looking for other reliable GF recipes, my post on easy gluten-free chicken delight uses similar binding principles and is always a winner.
Can I use a different gluten free flour blend for this Gluten Free Pizza Crust?
Generally, yes! Most blends work, but you have to pay close attention to that xanthan gum. If your blend doesn’t contain it, you simply must measure and add 1 teaspoon of it into your dry mix. Without that binder, your dough texture will be crumbly and won’t hold together when you try to press it out. The quality of the blend really affects the texture of your finished **gluten free pizza crust**, so pick one you trust.
Can I make this Gluten Free Pizza Crust ahead of time?
Yes, you absolutely can! I often make a batch of dough on Sunday afternoon. You can keep the mixed dough covered tightly in the fridge for up to 24 hours. Because it’s a sticky dough, it might seem a little stiff when you pull it out a day later, so just let it sit on the counter for about 20 minutes to warm up slightly before you try to spread it onto the pan. It handles thawing from frozen really nicely too, just give it plenty of time!
Sharing Your Homemade Gluten Free Pizza Crust
Well, that’s it! You are officially ready to eat amazing pizza tonight. I hope trying out this incredibly simple **gluten free pizza crust** changes your weeknights as much as it changed mine. Let me know how yours turned out in the comments below—I absolutely love hearing what toppings everyone chooses!
If you have any feedback or questions, feel free to drop me a line over at the contact page. Happy baking!
Print
Simple Gluten Free Pizza Crust
- Total Time: 40 min
- Yield: 1 large pizza 1x
- Diet: Gluten Free
Description
A straightforward recipe for making a reliable gluten free pizza crust at home.
Ingredients
- 1 1/2 cups warm water (about 105-115°F)
- 1 packet active dry yeast (2 1/4 teaspoons)
- 1 teaspoon sugar
- 3 cups gluten free all-purpose flour blend (with xanthan gum)
- 1 teaspoon salt
- 2 tablespoons olive oil
Instructions
- Combine warm water, yeast, and sugar in a bowl. Let stand for 5 to 10 minutes until foamy.
- In a separate large bowl, whisk together the gluten free flour blend and salt.
- Add the olive oil and the yeast mixture to the dry ingredients. Mix with a spoon or stand mixer until a sticky dough forms.
- Cover the bowl and let the dough rest in a warm place for 30 minutes. The dough will not rise significantly like traditional wheat dough.
- Preheat your oven to 425°F (220°C). Lightly grease a pizza pan or line it with parchment paper.
- Lightly oil your hands. Press or spread the dough evenly onto the prepared pan to your desired thickness.
- Bake the crust plain for 10 to 12 minutes until it starts to look set.
- Remove from the oven, add your desired toppings, and return to the oven to bake for another 10 to 15 minutes, or until the cheese is melted and bubbly.
Notes
- If your gluten free flour blend does not contain xanthan gum, add 1 teaspoon of xanthan gum to the dry ingredients.
- Use parchment paper for easier handling when shaping the dough.
- For a crispier crust, bake on a preheated pizza stone.
- Prep Time: 15 min
- Cook Time: 25 min
- Category: Dinner
- Method: Baking
- Cuisine: American
Nutrition
- Serving Size: 1 slice
- Calories: 180
- Sugar: 1
- Sodium: 250
- Fat: 5
- Saturated Fat: 1
- Unsaturated Fat: 4
- Trans Fat: 0
- Carbohydrates: 30
- Fiber: 2
- Protein: 4
- Cholesterol: 0
Keywords: gluten free pizza crust, homemade pizza, easy pizza dough, dairy free pizza base