
Okay, so picture this: twinkling lights, a crackling fire, maybe some carols playing softly in the background… and the most INCREDIBLE dessert spread you can imagine. Right there, front and center, is my absolute favorite thing to make this time of year: my go-to Christmas Cheesecake! Seriously, folks, if you want to hear gasps of delight around the holiday table, this is the recipe. I started making this years ago for our family get-togethers, and it’s become a tradition. It just *feels* like Christmas in a bite, you know? Creamy, spiced, and utterly decadent. It’s the kind of dessert that makes everyone ask for seconds (and sometimes thirds!). This isn’t just any cheesecake; it’s a holiday showstopper that’s surprisingly simple to pull off. Trust me, you’ve got this!

Why You’ll Love This Christmas Cheesecake
Alright, so why is THIS Christmas Cheesecake the one you need in your life this holiday season? Let me tell you!
- It’s ridiculously easy: Seriously, don’t be intimidated by cheesecake! This recipe is totally doable, even if you’re not a baking pro. We keep it simple and delicious.
- The flavor is pure Christmas magic: The warm spices just scream “holidays,” and paired with that creamy filling? *Chef’s kiss!*
- Everyone will ADORE it: This is a guaranteed crowd-pleaser. Get ready for compliments (and maybe a few requests for the recipe!).
- It looks stunning: With a little festive topping, this Christmas Cheesecake is a showstopper on any holiday table.
Essential Equipment for Your Christmas Cheesecake
Alright, before we dive in, let’s make sure you’ve got the right tools for the job! You don’t need anything super fancy, but these things will make whipping up your Christmas Cheesecake a breeze.
- A good old-fashioned 9-inch springform pan is a must for that perfect cheesecake shape.
- You’ll definitely want a sturdy mixing bowl (or two!).
- An electric mixer (handheld or stand mixer) is your best friend for that super smooth filling.
- And don’t forget a whisk and some measuring cups and spoons!
Ingredients for the Perfect Christmas Cheesecake
Okay, now for the good stuff – the ingredients! This is where the magic really starts to happen for our Christmas Cheesecake. We’re keeping it classic and simple, but with those little festive touches that make it sing. Make sure everything is ready before you start; it just makes things flow so much better!
First up for the crust, you’ll need about 1 and a half cups of graham cracker crumbs. You can buy them pre-crushed or just whiz some graham crackers in your food processor – easy peasy! Then, grab half a cup of melted butter. Unsalted is usually my go-to for baking, but honestly, salted works fine here too if that’s what you’ve got.
For that dreamy, creamy filling, you’ll need 24 ounces of cream cheese. This is super important: make sure it’s fully softened! Leave it out on the counter for an hour or two, or even give it a quick zap in the microwave on low power if you’re in a hurry (but watch it!). You’ll also need a cup of granulated sugar, a teaspoon of good vanilla extract (the real stuff makes a difference!), and three large eggs. Again, room temperature eggs blend in so much better, so try to plan ahead if you can.
We’re also adding a cup of sour cream for extra richness and that classic cheesecake tang, plus a quarter cup of all-purpose flour. And for that signature Christmas flavor? You’ll need about half a teaspoon of ground cinnamon, a quarter teaspoon of ground nutmeg, and just a tiny pinch of ground cloves. These spices are the secret to making it taste like the holidays!
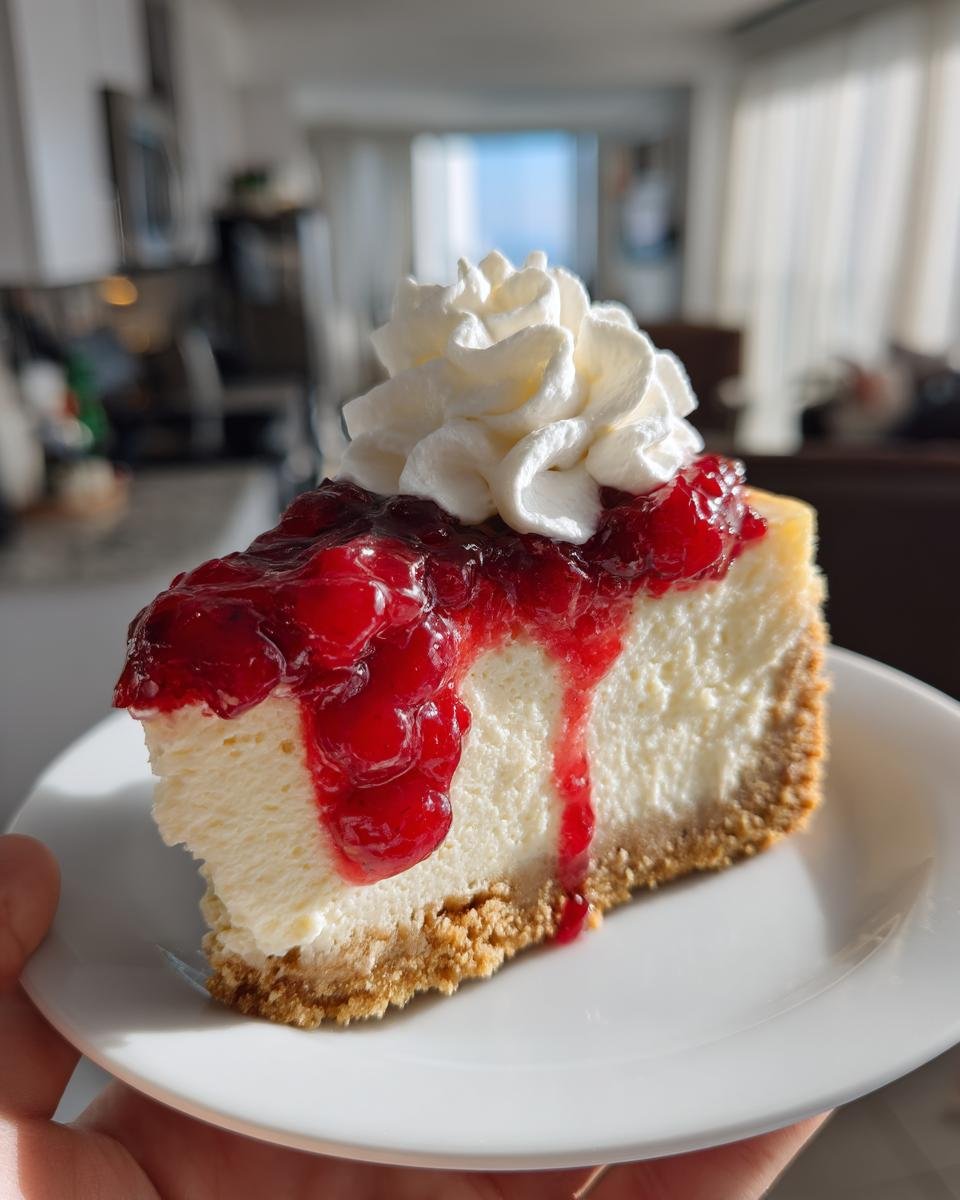
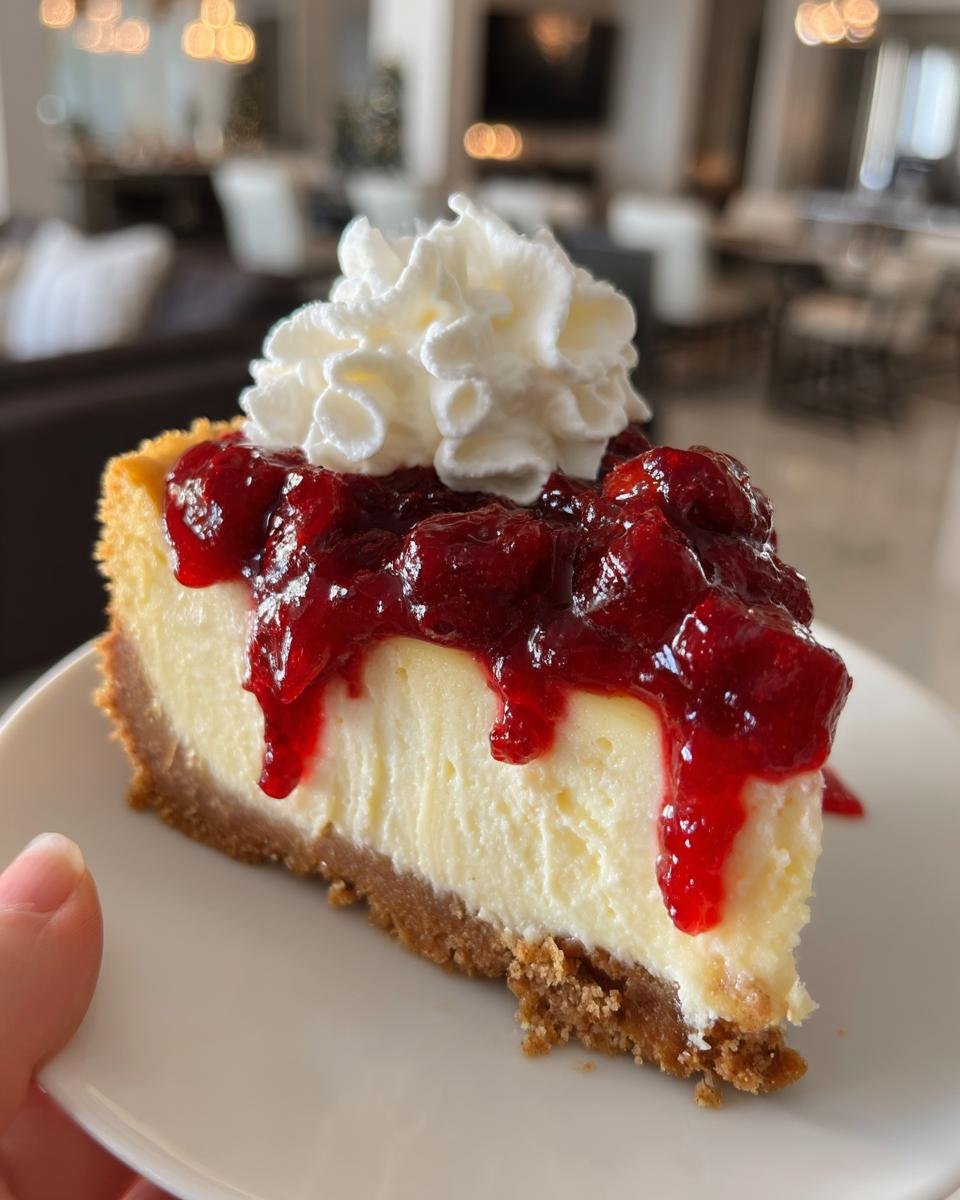
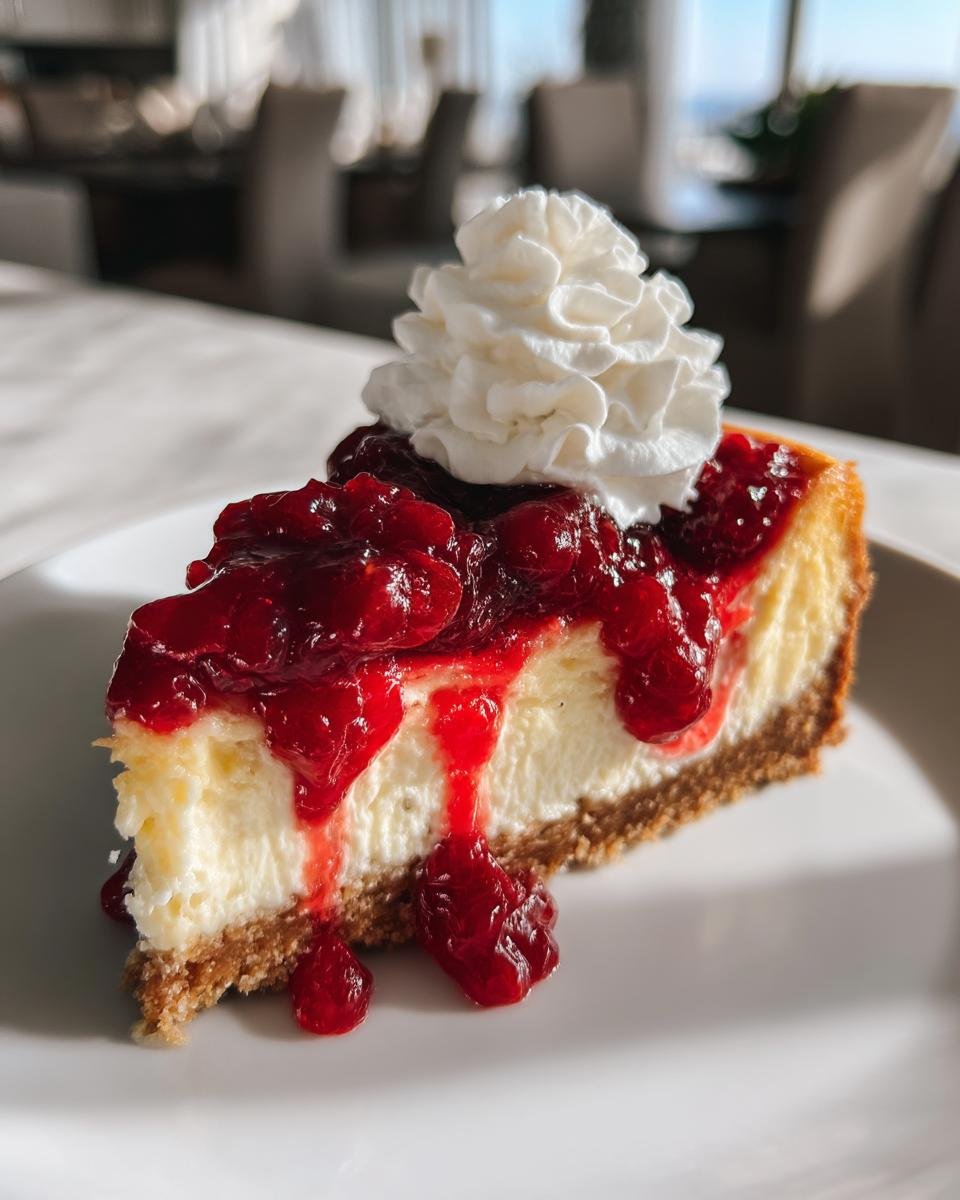
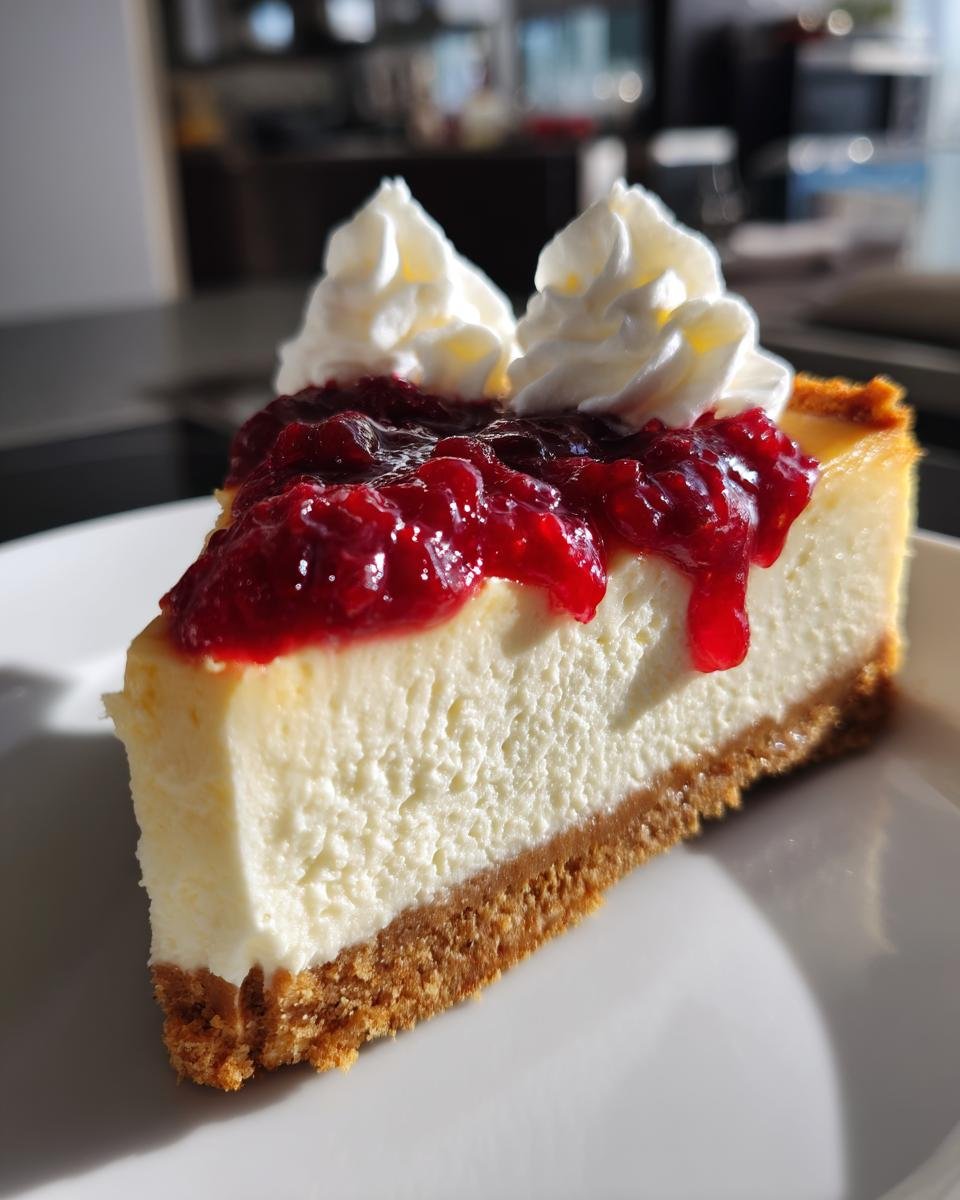
And don’t forget the toppings! I love using some bright, festive cranberry sauce and a dollop of fluffy whipped cream. It just finishes everything off perfectly.
Step-by-Step Guide: How to Prepare Your Christmas Cheesecake
Alright, deep breaths! Making cheesecake might sound intimidating, but we’re going to break it down step-by-step. Just follow along, and you’ll have a gorgeous Christmas Cheesecake ready to go. Trust the process, and have fun with it!
Preparing the Christmas Cheesecake Crust
First things first, let’s get that delicious crust ready. You’ll want to preheat your oven to 350°F (that’s 175°C). While it’s warming up, grab your 9-inch springform pan. Give it a good grease – butter or baking spray works perfectly – so your beautiful Christmas Cheesecake doesn’t stick later on.
Now, in a medium bowl, dump in those graham cracker crumbs. Pour the melted butter over them and stir it all together with a fork. It should look like wet sand. Once it’s nicely combined, spoon the mixture into the bottom of your prepared pan. Use the bottom of a glass or a flat measuring cup to firmly press the crumbs down into an even layer. You want it packed tight! This is going to be the sturdy base for our amazing Christmas Cheesecake.
Crafting the Creamy Christmas Cheesecake Filling
This is where the magic happens for that smooth, luscious filling! Grab a large bowl and your electric mixer. Beat the softened cream cheese and granulated sugar together until it’s really smooth and creamy. Make sure there are no lumps! Then, beat in that vanilla extract. It smells so good already, right?
Next, add the eggs, but here’s a little trick: add them one at a time. Beat well after each egg, but *only* until it’s just mixed in. Overmixing here can add too much air, which can sometimes cause cracks later (we want to avoid those!).
In a separate small bowl, whisk together the sour cream, flour, cinnamon, nutmeg, and cloves. Those spices are key to the Christmas flavor! Once that’s mixed, gently add it to the cream cheese mixture. Beat on low speed *just* until everything is combined. Seriously, stop mixing as soon as you don’t see any more streaks of flour or sour cream. Don’t overdo it!
Pour this glorious, creamy filling over your prepared graham cracker crust in the springform pan. Give the pan a gentle tap on the counter a few times to help release any air bubbles trapped inside.
Baking Your Christmas Cheesecake
Okay, time for the oven! Carefully place the springform pan on a baking sheet (this just catches any potential drips and makes it easier to handle). Slide it into your preheated 350°F (175°C) oven. You’ll bake it for about 50 to 60 minutes. How do you know it’s done? The edges should look mostly set, maybe even slightly puffed, but the center will still look a little soft or jiggly. It will continue to set as it cools, so don’t overbake it!
Cooling and Chilling Your Christmas Cheesecake
This step is CRUCIAL for preventing those dreaded cracks and getting that perfect texture. Once the baking time is up and the center is *almost* set, turn off the oven. Leave the cheesecake inside with the oven door propped open slightly (you can use a wooden spoon handle for this) for about an hour. This lets it cool down gradually.
After that hour, take the cheesecake out of the oven and let it cool completely on a wire rack. Seriously, let it cool all the way down to room temperature. This takes a few hours. Once it’s totally cool, cover it loosely with plastic wrap (try not to let the wrap touch the top if you can!) and pop it in the refrigerator. It needs to chill for at least 4 hours, but overnight is even better! Chilling is what truly sets that creamy filling and makes slicing a dream. Resist the urge to cut in too early!
Tips for a Flawless Christmas Cheesecake
Want your Christmas Cheesecake to be absolutely perfect? Here are a few little things that make a big difference! First off, make sure your cream cheese and eggs are at room temperature before you start mixing – it helps everything combine smoothly and evenly. Don’t overmix the filling once the eggs are added; just mix until they’re incorporated. This keeps your cheesecake from getting too airy and potentially cracking. And seriously, that slow cooling in the oven is a game-changer for preventing cracks! Be patient with the chilling time too; it’s essential for that firm, sliceable texture you want in a Christmas Cheesecake.
Serving Suggestions for Your Christmas Cheesecake
Okay, your gorgeous Christmas Cheesecake is chilled and ready! Now for the fun part – making it look and taste even more festive! My absolute favorite way to serve this is with a generous dollop of fresh whipped cream and a spoonful (or two!) of bright, tangy cranberry sauce. The colors are perfect for the holidays, and the flavors are just a match made in heaven with the creamy, spiced cheesecake. You could also sprinkle a little extra cinnamon or nutmeg on top of the whipped cream for an extra flourish!
Storing and Reheating Christmas Cheesecake
Got leftovers of your amazing Christmas Cheesecake? Lucky you! To store it, just cover any cut surfaces with plastic wrap and then either wrap the whole thing tightly or put it in an airtight container. It’ll keep in the fridge for about 3-5 days. Honestly, it tastes even better the next day as the flavors meld! Cheesecake is best served chilled, so you won’t need to reheat it. Just pull a slice out of the fridge and enjoy!
Frequently Asked Questions About Christmas Cheesecake
Got questions about whipping up this festive treat? Don’t worry, I’ve got answers! Here are some common things people ask about making the perfect Christmas Cheesecake.
Q: Why did my Christmas Cheesecake crack?
A: Cracking usually happens from sudden temperature changes or overbaking. Make sure your ingredients are at room temp, don’t overmix, and definitely use that slow cooling method in the oven!
Q: Can I use a different type of crust?
A: Absolutely! While graham cracker is classic for this Christmas cheesecake, you could try gingersnap or even shortbread cookies for a different festive flavor.
Q: How far in advance can I make this Christmas Cheesecake?
A: This cheesecake is actually perfect for making ahead! You can bake and chill it 1-2 days before you plan to serve it. The flavors really develop beautifully.
Q: Can I freeze Christmas Cheesecake?
A: Yes! Cool it completely, then wrap it tightly in plastic wrap and then foil. It can be frozen for 1-2 months. Thaw it slowly in the fridge overnight before serving.
Estimated Nutritional Information
Okay, so while we’re focusing on deliciousness here, I know some folks like to have an idea of the nutritional side of things. Based on the ingredients, a single serving (that’s about 1/12th of the whole amazing Christmas Cheesecake!) is roughly estimated to have around 500 calories, with about 35g of fat (20g of that being saturated fat). You’re looking at approximately 40g of carbohydrates, 35g of sugar, and 8g of protein. Just remember, these are estimates, and the actual numbers can vary a bit depending on the specific brands you use. But hey, it’s the holidays – a little indulgence is totally allowed!
Share Your Christmas Cheesecake Creation
Okay, you’ve done it! You’ve conquered the Christmas Cheesecake! Now it’s YOUR turn to show off. I absolutely LOVE seeing what you guys make. Did you add extra cinnamon? Get creative with the toppings? Please, please, please share a picture of your beautiful Christmas Cheesecake creation! Leave a comment below and tell me how it went, or even better, snap a photo and tag me on social media! I can’t wait to see your festive masterpiece! And if you loved it, please consider rating the recipe!
Print
Easy 9-Inch Christmas Cheesecake Bliss
- Total Time: 6 hours 20 minutes
- Yield: 12 servings 1x
- Diet: Vegetarian
Description
A festive cheesecake perfect for Christmas celebrations.
Ingredients
- 1 1/2 cups graham cracker crumbs
- 1/2 cup melted butter
- 24 ounces cream cheese, softened
- 1 cup granulated sugar
- 1 teaspoon vanilla extract
- 3 large eggs
- 1 cup sour cream
- 1/4 cup all-purpose flour
- 1/2 teaspoon ground cinnamon
- 1/4 teaspoon ground nutmeg
- Pinch of ground cloves
- For topping: cranberry sauce and whipped cream
Instructions
- Preheat oven to 350°F (175°C). Grease a 9-inch springform pan.
- In a medium bowl, combine graham cracker crumbs and melted butter. Press mixture into the bottom of the prepared pan to form a crust.
- In a large bowl, beat cream cheese and sugar until smooth. Beat in vanilla extract.
- Add eggs one at a time, beating well after each addition.
- In a separate small bowl, whisk together sour cream, flour, cinnamon, nutmeg, and cloves.
- Add sour cream mixture to cream cheese mixture and beat until just combined. Do not overmix.
- Pour filling over the crust in the springform pan.
- Bake for 50-60 minutes, or until the center is almost set.
- Turn off the oven and let the cheesecake cool in the oven with the door slightly ajar for 1 hour.
- Remove cheesecake from oven and cool completely on a wire rack.
- Refrigerate for at least 4 hours, or preferably overnight, before serving.
- Serve with cranberry sauce and whipped cream.
Notes
- Ensure cream cheese is fully softened for a smooth filling.
- Do not overbake the cheesecake; it will continue to set as it cools.
- Cooling the cheesecake gradually in the oven helps prevent cracks.
- Prep Time: 20 minutes
- Cook Time: 60 minutes
- Category: Dessert
- Method: Baking
- Cuisine: American
Nutrition
- Serving Size: 1 slice
- Calories: 500
- Sugar: 35g
- Sodium: 300mg
- Fat: 35g
- Saturated Fat: 20g
- Unsaturated Fat: 10g
- Trans Fat: 0g
- Carbohydrates: 40g
- Fiber: 1g
- Protein: 8g
- Cholesterol: 150mg
Keywords: Christmas, cheesecake, holiday dessert, festive, cranberry, cream cheese