
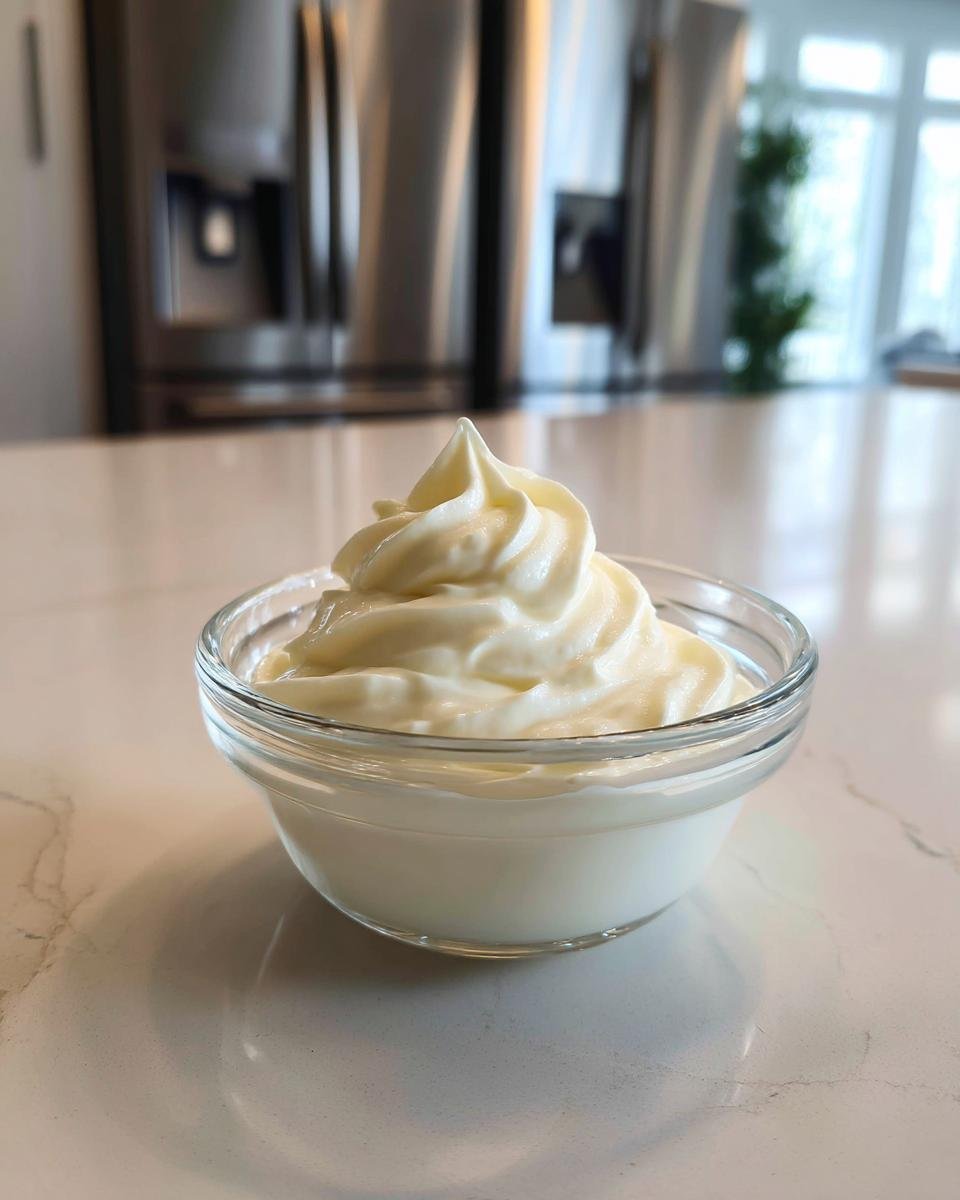
Okay, so listen up! Have you ever stood in the dairy aisle, staring at all the options, and thought, “Could I *actually* make this myself?” Well, get ready, because I’m about to spill the beans on how satisfying it is to make milk products right in your own kitchen! Seriously, there’s something just magical about taking simple milk and turning it into something totally different, whether it’s creamy yogurt or maybe even your very first batch of cheese.
I remember the first time I made homemade ricotta. It felt like a science experiment gone right, and the taste? Miles better than anything from the store. It’s this little burst of pride you get knowing *you* created it. And trust me, I’ve tried and tested these methods so you can feel confident diving in. We’re going to make milk products together, and it’s going to be fun (and maybe a little messy, but that’s part of the charm!).

Why You’ll Love to Make Milk Products at Home
Listen, making your own milk products isn’t just about saving a few bucks, though that’s definitely a perk! There are so many reasons why you’ll totally fall in love with this kitchen adventure. It’s like unlocking a whole new level of cooking!
- Super Freshness: You know EXACTLY when your yogurt or cheese was made. No mystery dates here!
- Control Freak Approved: Want less salt? More tangy? You’re the boss of your ingredients when you make milk products yourself.
- Wallet-Friendly: Seriously, store-bought stuff can add up. Crafting your own is way easier on the budget.
- Pure Magic: There’s something incredibly rewarding about watching milk transform. It just feels like a little bit of kitchen wizardry!
What You Need to Make Milk Products
Okay, before we dive into the fun stuff, let’s talk about what you’ll need gathered up. It’s not a super fancy list, I promise! Just a few key players in the ingredient department and some basic kitchen gear. Getting this stuff ready first makes the whole process of how to make milk products so much smoother.
Key Ingredients to Make Milk Products
First up, the stars of the show! You’ll obviously need milk – and the kind depends on what you’re making (whole milk is great for creamy things, but sometimes skim works!). For yogurt and some cheeses, you’ll need cultures; these are the little good guys that do all the fermenting magic. Cheese needs rennet, which helps the milk curdle properly. Don’t forget salt! And hey, feel free to grab some flavorings if you’re feeling adventurous.
Essential Equipment for Making Milk Products
Now for the tools! You’ll definitely need a good pot, preferably one that heats evenly. A thermometer is your best friend here – getting the temps right is HUGE. Cheesecloth is essential for draining, and strainers are a must too. And of course, you’ll need clean containers for your finished goodies. Oh, and I can’t stress this enough: everything needs to be sparkling clean! Like, *really* clean. It makes all the difference when you make milk products.
How to Make Milk Products: Step-by-Step Guide
Alright, let’s get our hands (carefully!) dirty! Making milk products at home might sound intimidating, but I promise, if you break it down into simple steps, it’s totally doable and super rewarding. Think of this as your little roadmap to dairy deliciousness. We’re going to go through the basic flow, but remember, each specific recipe (like for yogurt versus ricotta) will have its own quirks and timings, so always follow those details closely!
Selecting and Preparing Your Milk
First things first, pick your milk! What you’re making dictates the best kind – whole milk is fantastic for richness, but sometimes skim or even plant-based milk works. Once you’ve got your milk, you’ll usually need to heat it up or cool it down to a specific temperature. This is where your thermometer is your absolute hero!
Adding Cultures and Other Ingredients to Make Milk Products
Now for the magic makers! Once your milk is at the right temperature, you’ll gently stir in your cultures (for yogurt or some cheeses) or rennet (for cheese). This is a delicate step – you don’t want to shock your little microbial friends! Sometimes you’ll add other things here too, like a tiny bit of acid. Temperature and timing are key here; these ingredients need just the right environment to do their job when you make milk products.
Setting, Draining, and Finishing Your Milk Products
This is where the transformation really happens! You’ll let the mixture sit, undisturbed, for a specific time to allow it to set or ferment. Don’t peek too early! Once it’s set, you’ll likely need to drain off excess liquid (whey!). This usually involves cheesecloth and a strainer. For some cheeses, you’ll even press them to make them firmer. Finally, you’ll do any last touches, like salting, shaping, or chilling, to make your beautiful homemade milk products ready to enjoy!
Tips for Success When You Make Milk Products
Okay, so you’ve got the steps down, but here are a few little secrets I’ve picked up along the way that’ll really help you nail it when you make milk products. These aren’t hard, just things to keep in mind!
- Temperature is EVERYTHING: Seriously, pay close attention to those temps. Too hot or too cold, and your cultures might not work right. Get yourself a reliable thermometer!
- Cleanliness is Next to Godliness: I know I said it before, but I’m saying it again! Sanitize *everything* that touches the milk. You don’t want unwanted bacteria messing up your lovely creation.
- Don’t Rush It: Good things take time! Let things set and drain for the full recommended period. Patience pays off big time when you make milk products.
- Troubleshooting Happens: If something doesn’t look quite right, don’t panic! Sometimes small adjustments are needed. Check your temps, check your timing, and don’t be afraid to try again!
Ingredient Notes and Substitutions for Making Milk Products
Now, while I always suggest starting with the ingredients a recipe calls for when you first make milk products, sometimes you just gotta work with what you have, right? Or maybe you want to experiment! You can play around with different types of milk – whole milk gives richness, but skim works for some things. Just know that using lower fat milk will give you a less creamy result, which is totally fine, just different!
For cultures, stick to what your recipe recommends, as they all do different things. And rennet is pretty specific for cheese making, so don’t skip that! If a recipe calls for a specific kind of salt, try to use it; different salts can affect the texture and flavor. Swapping things out can change the final product, so be ready for a little variation if you do!
Variations to Make Milk Products Your Own
This is where you get to have some *real* fun and put your own stamp on things! Once you’re comfortable with the basic process, there are tons of ways to jazz up your homemade milk products. For yogurt, think about swirling in some fruit puree or vanilla extract after it’s chilled. Making cheese? Try adding fresh herbs like chives or dill, or maybe a pinch of red pepper flakes for a little kick! You can even experiment with different salts – smoked salt adds a whole new dimension. Don’t be afraid to get creative and make these milk products truly yours!
Serving Suggestions for Your Homemade Milk Products
Okay, you’ve done it! You’ve made your own delicious milk products. Now for the best part – eating them! Homemade yogurt is amazing with just a drizzle of honey and some fresh berries. Your fresh cheese is perfect spread on crusty bread with a sprinkle of salt and pepper, or try it in a simple pasta dish. Don’t be shy, dig in and enjoy the fruits of your labor!
Storing and Reheating Your Milk Products
So you’ve got your gorgeous homemade goodies! How to keep them fresh? Pop your yogurt or cheese into airtight containers and keep them in the fridge. They usually last a week or two, but trust your nose and eyes! Most homemade milk products aren’t really meant for reheating (like cheese or yogurt), but if you’ve made something like a ricotta that you’re using in a hot dish, just add it towards the end of cooking so it doesn’t get rubbery.
Frequently Asked Questions About Making Milk Products
Okay, I know you might have a few questions bouncing around in your head after all that! It’s totally normal. Making milk products for the first time can bring up some “what ifs.” Here are some common things folks ask, and my best answers to help you out!
Can I Use Plant-Based Milk to Make Milk Products?
Yes, absolutely! While traditional milk is classic, you can definitely make things like yogurt and some soft cheeses using plant-based milks like almond, soy, or oat milk. Just be aware that the texture might be a little different!
How Long Do Homemade Milk Products Last?
Generally, homemade milk products kept in the fridge in an airtight container are good for about 1-2 weeks. Fresh cheeses might be best enjoyed sooner, while yogurt can sometimes last a bit longer. Always trust your senses – if it looks or smells off, it’s best to toss it.
What Should I Do if My Milk Products Don’t Set?
Don’t panic! This happens sometimes. Usually, it means the temperature wasn’t quite right when you added the cultures or rennet, or maybe they weren’t as active as they should have been. Make sure your ingredients aren’t expired, double-check your temperatures next time, and sometimes just letting it sit a little longer can help!
Nutritional Information Disclaimer
Okay, a quick note about the healthy stuff! When you make milk products at home, the exact nutritional info can really swing depending on the milk you use, the brands of cultures or other ingredients, and even exactly how much whey drains off. So, any nutritional details you see are really just good estimates, not a perfect science! Just keep that in mind.
Share Your Experience
So, you did it! You tried making your own milk products! How did it go? I’d absolutely LOVE to hear about it. Leave a comment below and tell me what you made, how it turned out, or any little tricks you discovered along the way. Did you snap a photo? Tag me on social media so I can see your amazing homemade creations! Happy making!
Print
Amazing Ways to Make Milk Products at Home
- Total Time: Varies
- Yield: Varies
- Diet: Vegetarian
Description
Learn how to make various milk products at home.
Ingredients
- Milk
- Cultures (for yogurt, cheese)
- Rennet (for cheese)
- Salt
- Flavorings (optional)
Instructions
- Select the appropriate type of milk for your desired product.
- Heat or cool the milk to the required temperature.
- Add cultures, rennet, or other necessary ingredients according to the recipe.
- Allow the mixture to set or ferment as instructed.
- Drain, press, or process the product further as needed.
- Chill or store the finished milk product properly.
Notes
- Use fresh, high-quality milk for best results.
- Follow specific recipe instructions carefully for each product.
- Ensure all equipment is clean and sanitized.
- Experiment with different types of milk and flavorings.
- Prep Time: Varies
- Cook Time: Varies
- Category: Dairy
- Method: Preparation
- Cuisine: General
Nutrition
- Serving Size: Varies
- Calories: Varies
- Sugar: Varies
- Sodium: Varies
- Fat: Varies
- Saturated Fat: Varies
- Unsaturated Fat: Varies
- Trans Fat: Varies
- Carbohydrates: Varies
- Fiber: Varies
- Protein: Varies
- Cholesterol: Varies
Keywords: milk products, homemade dairy, yogurt, cheese, butter, kefir