
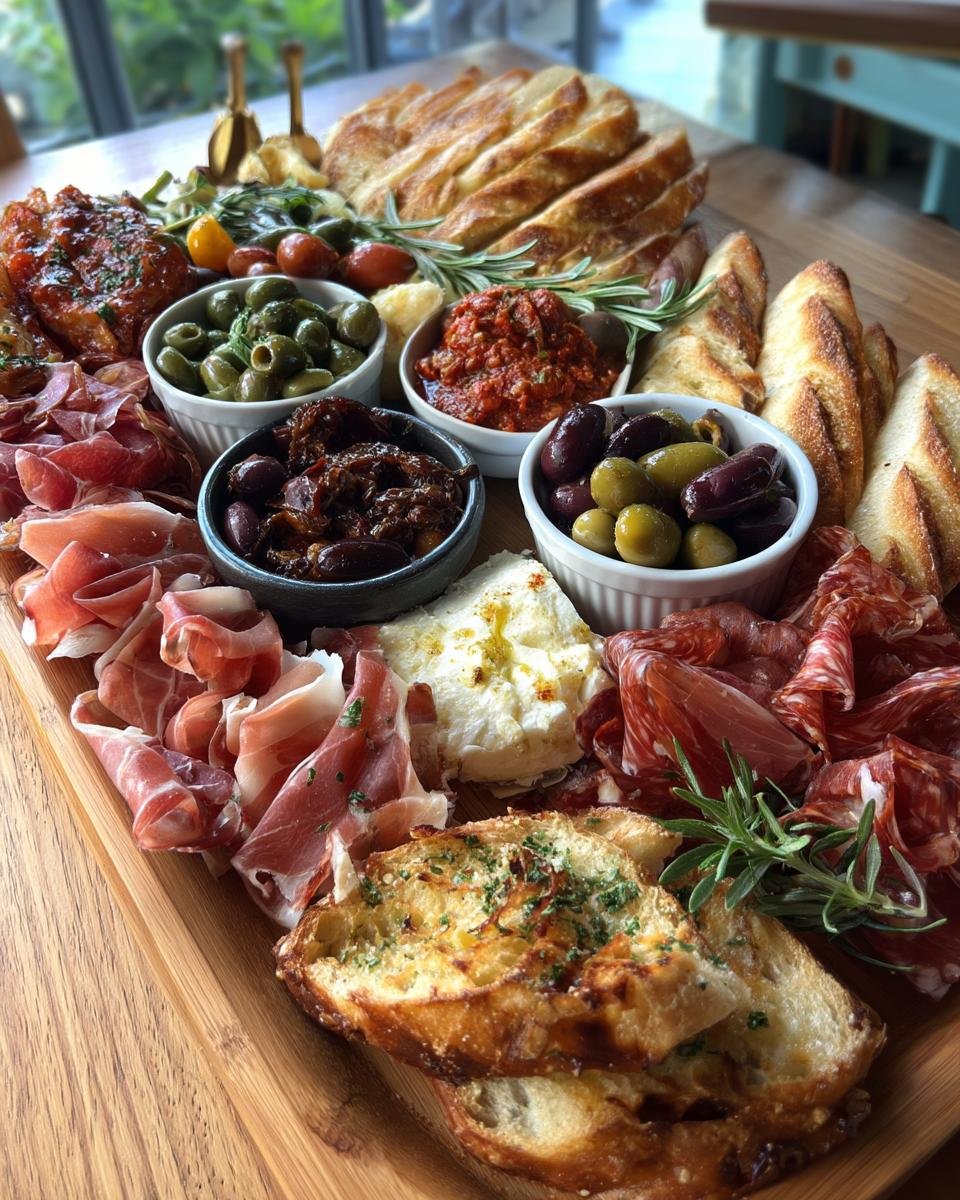
Okay, listen up! If you want something that looks totally fancy but is honestly the easiest thing ever to pull together for a party, a casual get-together, or honestly, just a Tuesday night (no judgment!), then you NEED an Antipasto Platter in your life. Seriously, it’s my go-to when I want to impress people without spending hours in the kitchen. You just arrange beautiful things on a board, and BOOM! Instant party vibes.
I remember the first time I made one. I was completely stressed about hosting a dinner party, and my friend just breezy said, “Oh, just do an antipasto platter to start!” I thought it sounded way too complicated, but she walked me through it, and it was revolutionary! It looked like I’d slaved away, but I’d just opened some jars and sliced some cheese. Since then, the Antipasto Platter has been my secret weapon. It’s all about picking delicious bits and making them look pretty together.

Why You’ll Love This Antipasto Platter
Okay, so why is an Antipasto Platter just the *best* thing ever, especially when you’re trying to be a fabulous host (or just treat yourself)? Let me count the ways!
- It’s ridiculously easy. Seriously, the hardest part is maybe slicing some cheese. No cooking required!
- It looks AMAZING. Like, magazine-cover amazing. All those colors and textures? Pure edible art.
- It’s completely customizable. Don’t like olives? Swap ’em out! Love spicy salami? Pile it on! This Antipasto Platter is your playground.
- Everyone finds something they love. Meats, cheeses, veggies, bread… there’s a little bit of everything to make everyone happy.
- Perfect for literally any occasion. Holidays, game nights, impromptu wine nights, you name it. An Antipasto Platter fits right in.
Trust me, once you see how simple and stunning this is, you’ll be making an Antipasto Platter for everything!
Ingredients for Your Perfect Antipasto Platter
Alright, let’s get down to the delicious bits you need to make your killer Antipasto Platter. This is where you get to play! Think of this list as your starting point, but feel free to mix and match based on what you love and what looks good at the store.
First up, you gotta have some cured meats. I usually grab a few different kinds – maybe some paper-thin prosciutto, a spicy salami, and a firmer soppressata. Get them pre-sliced or slice them yourself if you’re feeling fancy!
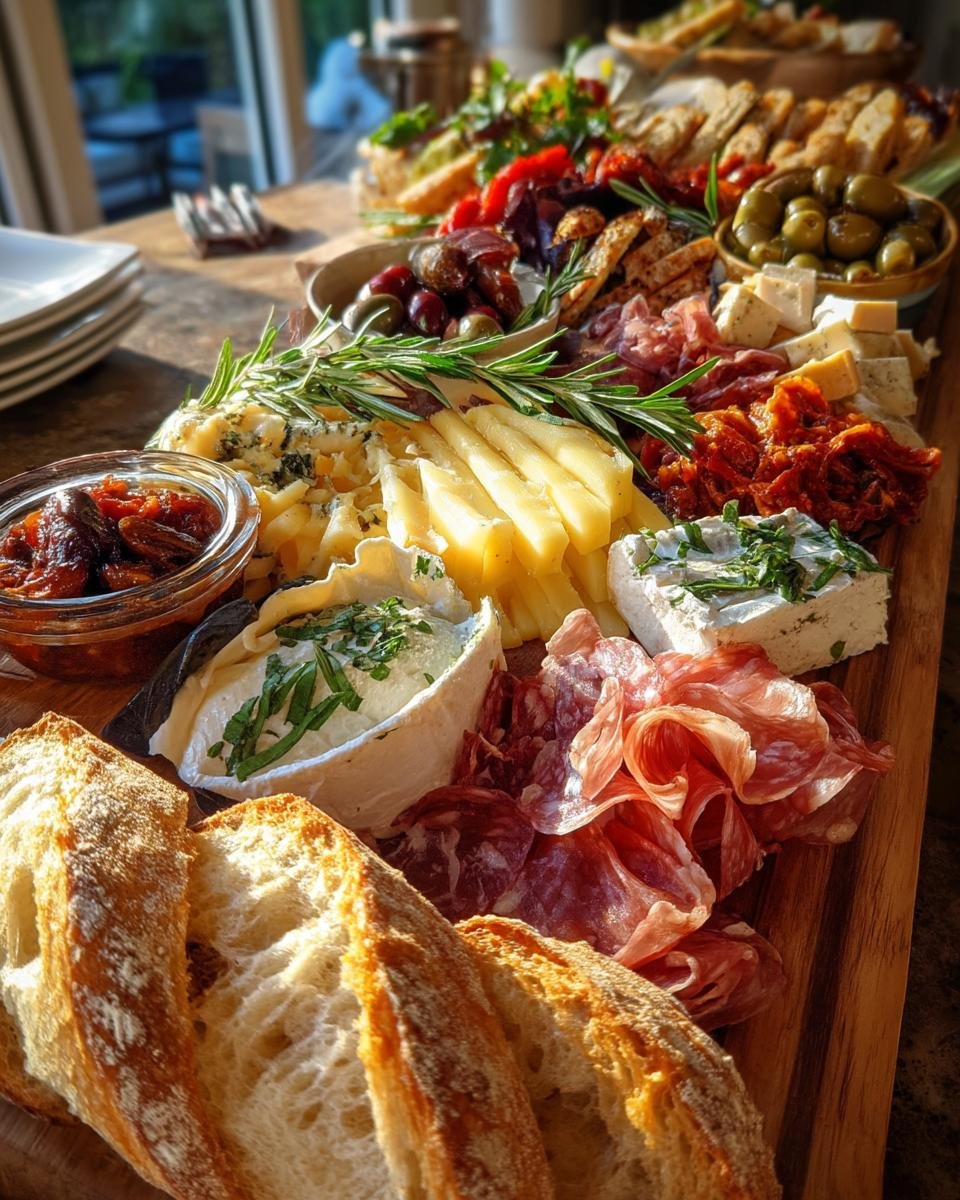
Then comes the cheese! Variety is key here. I like a mix of textures and flavors. A creamy fresh mozzarella is a must, maybe some sharp aged parmesan you can break into little chunks, and a tangy goat cheese rolled in herbs is always a hit. Assorted cheeses are your friend!
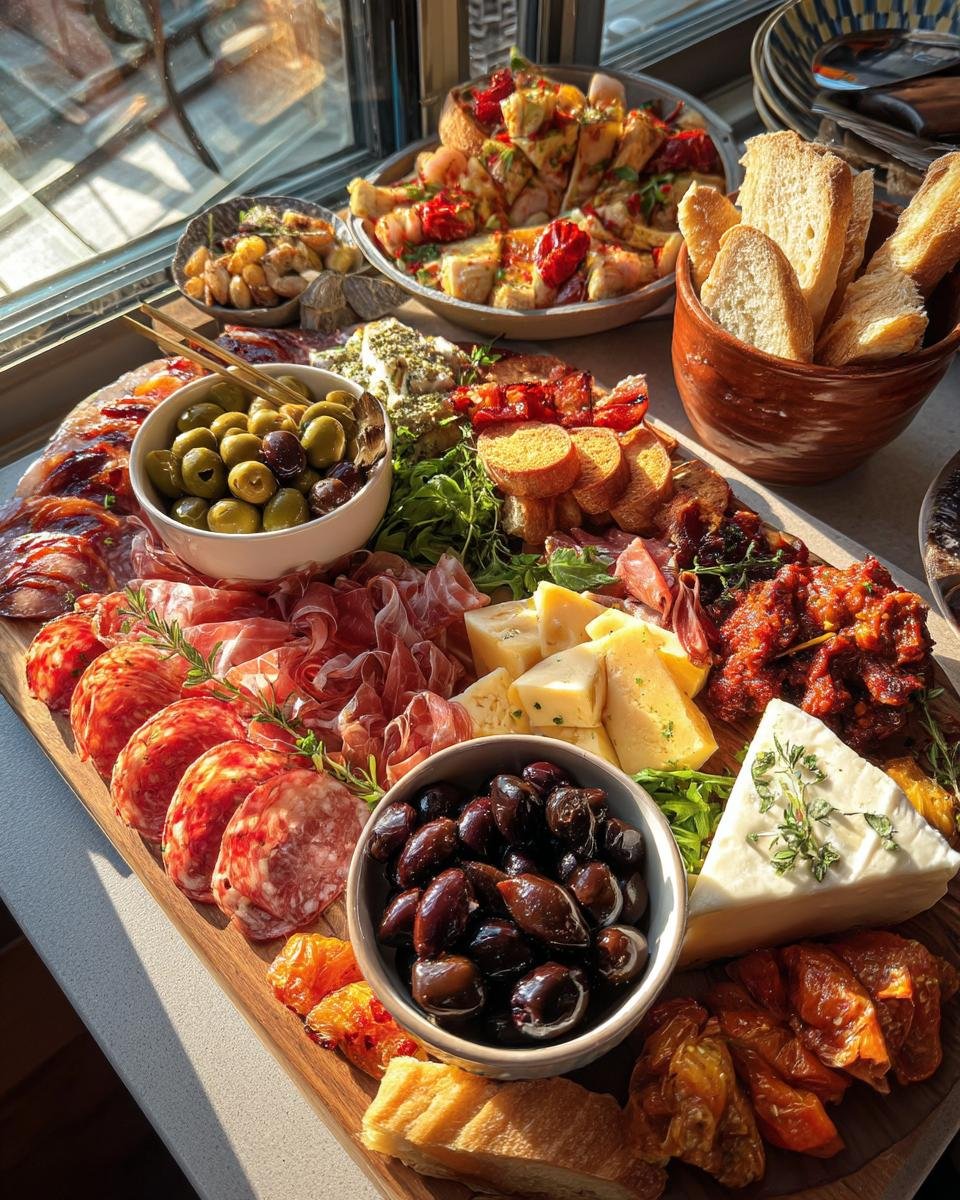
Now for the veggies and pickled goodies. Grab some marinated olives (the big, green ones are my favorite!), bright roasted red peppers, tender marinated artichoke hearts, and maybe some little marinated mushrooms. Don’t forget some sweet cherry tomatoes too – they add a nice pop of freshness.
You’ll also need something to pile all this goodness onto! Good quality breadsticks are easy and crunchy, or some crusty bread slices are perfect for piling high. And for a little green pop and freshness? A few sprigs of fresh basil or rosemary scattered around make the whole Antipasto Platter look even more inviting.
Assembling Your Easy Antipasto Platter: Step-by-Step Guide
Okay, you’ve gathered all your delicious ingredients for your Antipasto Platter. Now for the fun part – making it look like a work of art! Don’t stress, it’s super easy, I promise.
First things first, grab your biggest, prettiest board or platter. Seriously, go big! More space means more room for goodies. Start with the meats. I like to fold or roll the prosciutto and arrange it in little piles. Lay out the salami and soppressata in overlapping rows or little fans. Think about creating some visual flow.
Next, add your assorted cheeses. Place them around the meats, scattering different types so they aren’t all clumped together. You can slice some, leave some in blocks with a little cheese knife nearby, or break off rustic chunks of the harder cheeses like parmesan. Give them a little space so people can easily grab them.
Now it’s time for the marinated goodies! Put your olives, roasted red peppers, artichoke hearts, and marinated mushrooms in small bowls or just make little colorful piles directly on the board. Using bowls keeps the briny liquids contained, which is always a good idea!
Fill in any empty spots with those bright cherry tomatoes and your breadsticks or crusty bread slices. Tuck them in here and there. Finally, add your fresh herbs – basil leaves or little sprigs of rosemary scattered around add color and a lovely scent.
The most important tip? Let your Antipasto Platter sit at room temperature for about 20-30 minutes before serving. This really lets the flavors of the cheeses and meats develop. Don’t rush this step! And there you have it – your gorgeous, easy Antipasto Platter is ready to wow everyone!
Expert Tips for a Stunning Antipasto Platter
Okay, so you’ve got the basics down for your Antipasto Platter, but here are a few little tricks I use to make mine go from “nice” to “WOW!” These are super simple things that make a big difference, trust me.
First, think about variety. You want different textures and flavors going on. Creamy cheese next to crunchy breadsticks, salty meat with sweet roasted peppers. It keeps every bite interesting!
Don’t be afraid to get a little messy! Arrange things loosely and pile them up a bit – it looks more inviting than everything perfectly lined up. Fill in all the gaps so the board looks abundant and generous.
Prep ahead! Most of the stuff on an Antipasto Platter can be prepped hours before people arrive. Slice your cheeses, put your olives in bowls, get your meats ready. Then, when it’s time to assemble, it takes like, five minutes. Easy peasy!
And think about your guests. If you know someone is gluten-free, put out a little bowl of gluten-free crackers or breadsticks right next to the main board. It’s a small touch, but it means a lot!
Following these little tips will make your Antipasto Platter not just delicious, but absolutely beautiful and welcoming, every single time.

FAQs About Making an Antipasto Platter
Okay, so you might have a few burning questions about making your awesome Antipasto Platter. Totally normal! Here are some of the things people ask me most often, and my best answers to keep things simple and delicious.
Can I prepare the Antipasto Platter ahead of time?
Yes, absolutely! That’s one of the best things about an Antipasto Platter. You can slice your cured meats and assorted cheeses, put your marinated veggies into bowls, and get your bread ready hours before you need to assemble. Just keep everything separate and chilled in the fridge. Then, about 20-30 minutes before you want to serve, pull it all out and arrange it on your board. This lets everything come to room temperature so the flavors really shine. Don’t assemble the whole thing *too* far in advance though, or things might get a little soggy.
What are some good cheese options for an Antipasto Platter?
Oh, the cheese possibilities are endless! For a classic Antipasto Platter, I love a mix. A fresh mozzarella is soft and creamy. An aged parmesan you can break into chunks adds a salty, nutty bite. A firm provolone or a tangy goat cheese works beautifully too. Don’t be afraid to add a little spicy pepper jack or a smoked cheese if you like! The key is variety in texture and flavor – soft, hard, mild, and sharp.
How do I store leftover Antipasto Platter components?
If you somehow have leftovers (which rarely happens at my house!), the best way to store them is to take everything off the board and put the different components into separate airtight containers. The meats, cheeses, and marinated veggies all have different shelf lives and should be stored individually in the fridge. The bread is usually best eaten fresh, but you can store it in a bread bag or container too.
Serving Suggestions for Your Antipasto Platter
Okay, your beautiful Antipasto Platter is ready to go! It’s pretty perfect on its own, honestly, but if you want to round things out or add a little extra something, here are a few ideas. Besides the breadsticks or crusty slices you’ve already got, maybe put out a little bowl of fancy crackers or some toasted baguette slices. Sometimes I’ll add a little dish of balsamic glaze for drizzling or some fig jam – sweet and savory together is just *chef’s kiss*!
And for drinks? A crisp white wine like a Pinot Grigio or Sauvignon Blanc is always a winner. Or, if you’re feeling bubbly, some Prosecco is totally perfect with an Antipasto Platter. Honestly, whatever you love to drink will probably go great!
Nutritional Information
Just a quick note on nutrition for this Antipasto Platter! Since you can totally customize this with different meats, cheeses, and veggies, the exact nutritional info will vary quite a bit depending on what you choose and the brands you use. Because of that, I haven’t included specific nutritional data here. Just enjoy the deliciousness!
Share Your Antipasto Platter Creations
Alright, you’ve made your amazing Antipasto Platter! I would absolutely LOVE to see what you came up with. Did you find a cool new cheese? Use some fun, colorful veggies? Please, please, please share a picture with me on Instagram (tag me @[YourInstagramHandle]!) or leave a comment below and tell me about your favorite parts! And if you loved this guide (I hope you did!), please give it a rating. It helps other folks find it and make their own gorgeous platters!
Print
Antipasto Platter: 5 Tricks to Wow
- Total Time: 15 minutes
- Yield: Serves 6-8
- Diet: None
Description
An easy guide to assembling a beautiful and delicious antipasto platter.
Ingredients
- Assorted cured meats (prosciutto, salami, soppressata)
- Assorted cheeses (fresh mozzarella, aged parmesan, goat cheese)
- Marinated olives
- Roasted red peppers
- Artichoke hearts
- Cherry tomatoes
- Marinated mushrooms
- Breadsticks or crusty bread slices
- Fresh basil or rosemary for garnish
Instructions
- Arrange cured meats on a large platter or board.
- Place assorted cheeses around the meats.
- Add marinated vegetables in small bowls or piles.
- Fill in spaces with cherry tomatoes and bread.
- Garnish with fresh herbs.
- Serve at room temperature.
Notes
- Use a variety of textures and flavors for interest.
- Prepare components ahead of time for easy assembly.
- Offer gluten-free bread options for dietary needs.
- Prep Time: 15 minutes
- Cook Time: 0 minutes
- Category: Appetizer
- Method: Assembly
- Cuisine: Italian
Nutrition
- Serving Size: 1/8 of platter
- Calories: Estimates vary based on ingredients
- Sugar: Estimates vary based on ingredients
- Sodium: Estimates vary based on ingredients
- Fat: Estimates vary based on ingredients
- Saturated Fat: Estimates vary based on ingredients
- Unsaturated Fat: Estimates vary based on ingredients
- Trans Fat: Estimates vary based on ingredients
- Carbohydrates: Estimates vary based on ingredients
- Fiber: Estimates vary based on ingredients
- Protein: Estimates vary based on ingredients
- Cholesterol: Estimates vary based on ingredients
Keywords: antipasto, platter, cheese, charcuterie, appetizer